

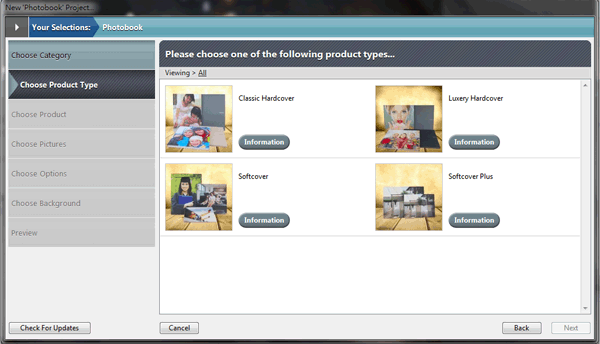
❶ Create new project
Start Photobook Designer and Create a New Project. Then choose a product you prefer.
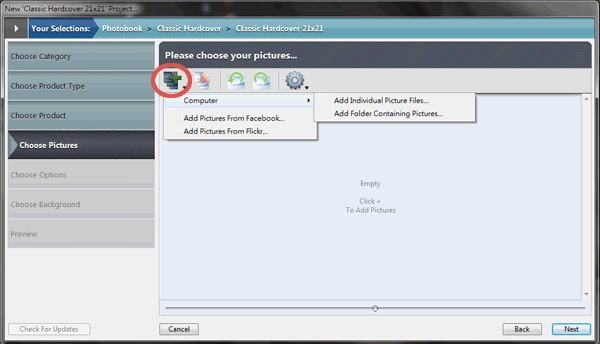
❷ Choose your pictures
Click 「![]() 」 and select【Add Individual Picture Files】to add pictures. (Ctrl+click to multiple choice). Select【Add Folder Containing Pictures】to add pictures inside this folder. (Don't support subfolder)
」 and select【Add Individual Picture Files】to add pictures. (Ctrl+click to multiple choice). Select【Add Folder Containing Pictures】to add pictures inside this folder. (Don't support subfolder)
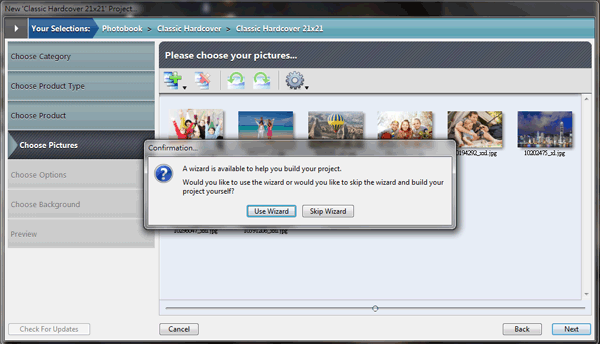
❸ Use Wizard
Choose to use Wizard or not. 【Use Wizard】 will help you to build project step by step mean while 【Skip Wizard】 open a blank project.
❹ Start to design
Select 【Skip Wizard】 and enter project name to build blank project. Please read INSTRUCTIONS first and then select [Delete] in right-click menu to delete it. Pick up one page style you prefer and drag-and-drop to page.
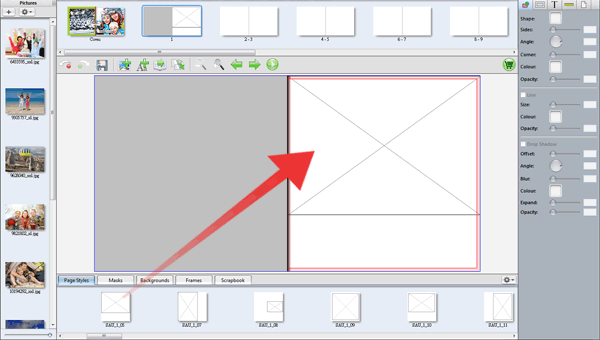
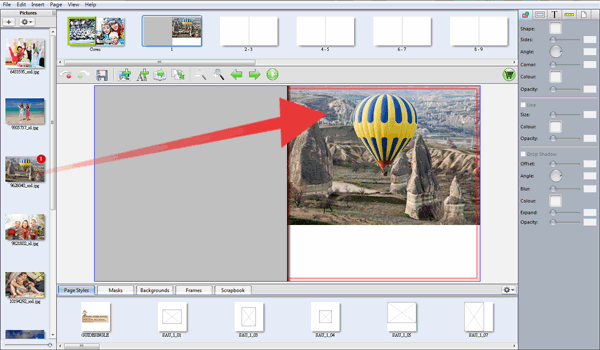
❺ Drag and drop elements to your book
Select a picture from Pictures area and drop to a picture box in page. Double click a picture in page to crop it.
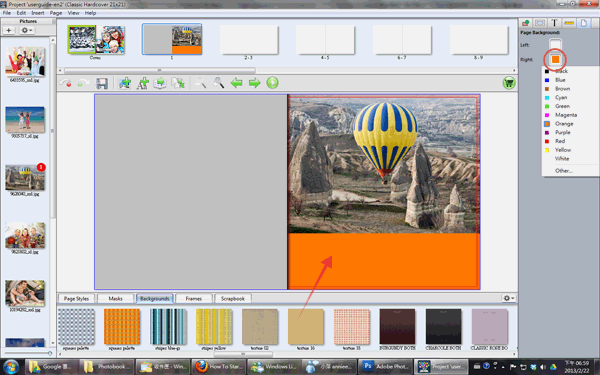
❻ Select background image or color
Choose prefer background image and drop to page or select「」 to fill in any color you want.
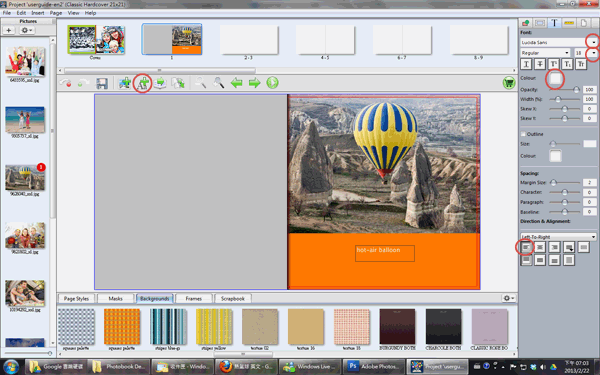
❼ Add text
Click 「![]() 」 to add text box then double click to edit text. Change font type, font size, color, alignment...etc in Inspector at right hand side.
」 to add text box then double click to edit text. Change font type, font size, color, alignment...etc in Inspector at right hand side.
❽ Place an order
Once finish all design and work, just click shopping cart to complete whole process and upload files.
![]()