
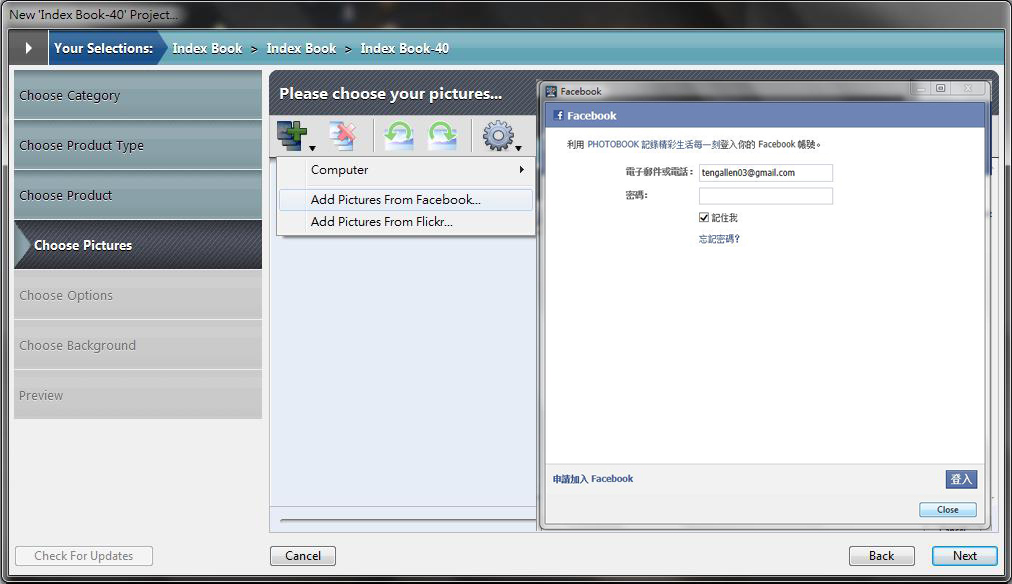
Transform your Facebook reality
Collect your pictures from Facebook wall / album to import them into Index book. Photobook Designer help you to import pictures from Facebook with autflow and it is easy and fast to turn your facebook as real book in hand.
Importing pictures from Facebook are required to review resolution carefully. It is need to replace photo if there is resolution warning. Create Proofs is recommended to review printing quality if necessary.
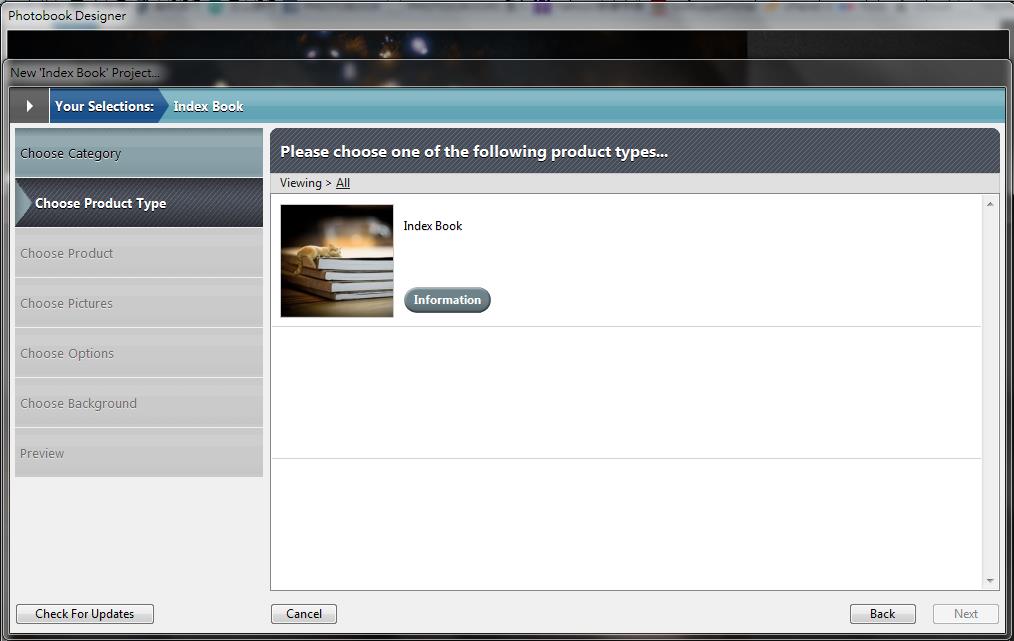
01 Create New Project-Index Book
Start Photobook Designer and select Create a New Project. Choose "Index Book" then click next.
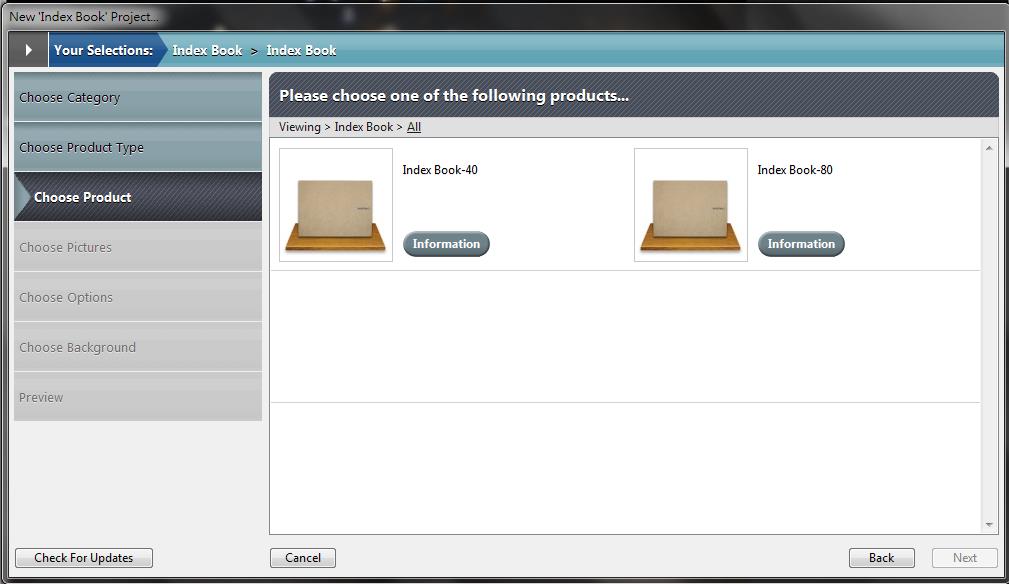
02 Choose one product
Select a product you prefer.
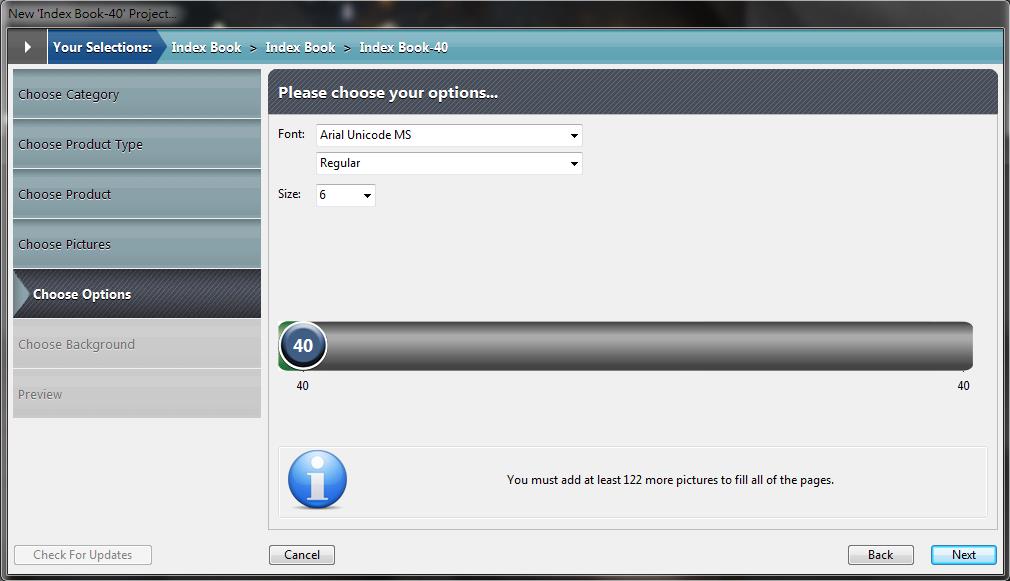
Index Book-40 contains 240 pictures in maximum then Index Book-80 contains 480 pictures in maximum.
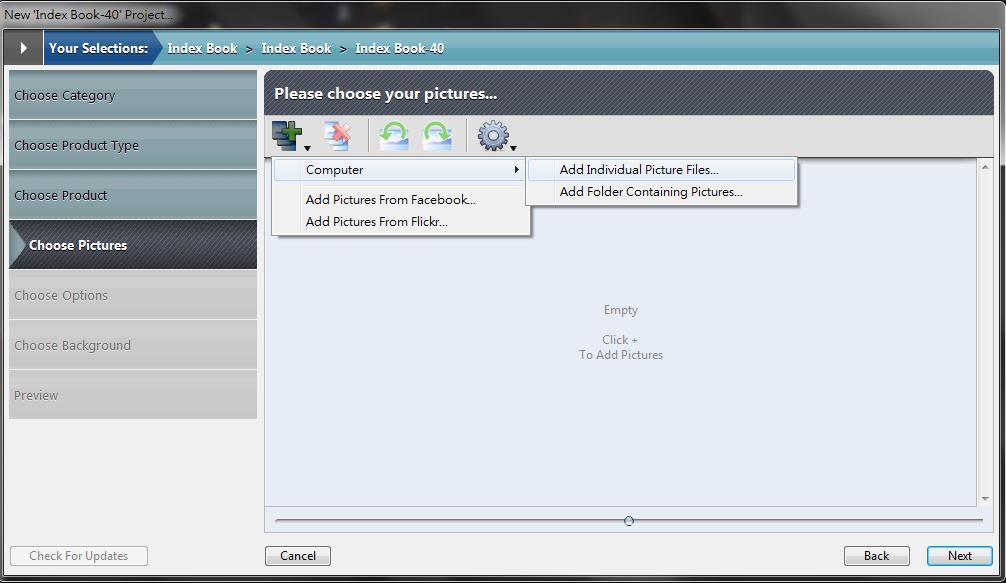
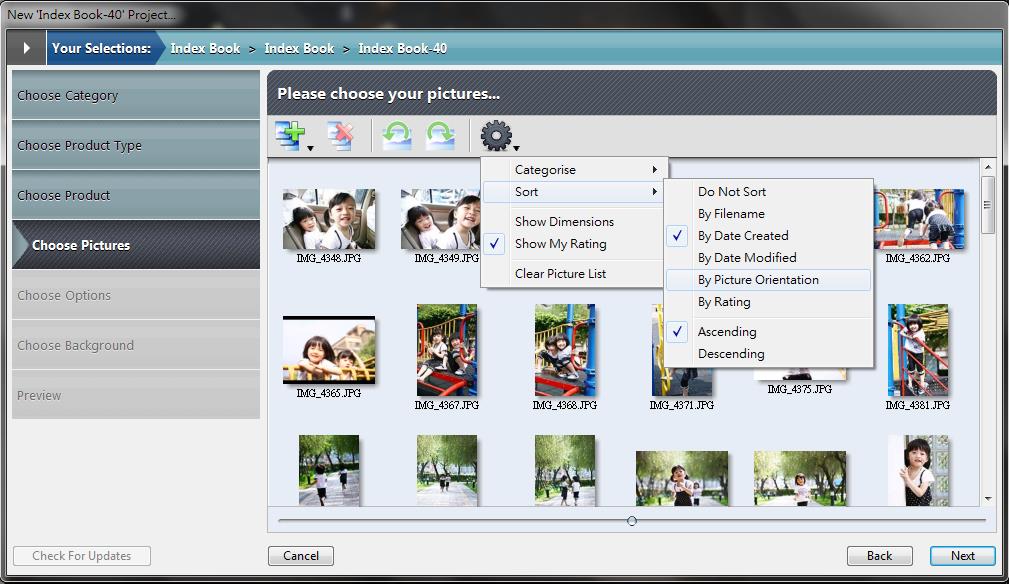
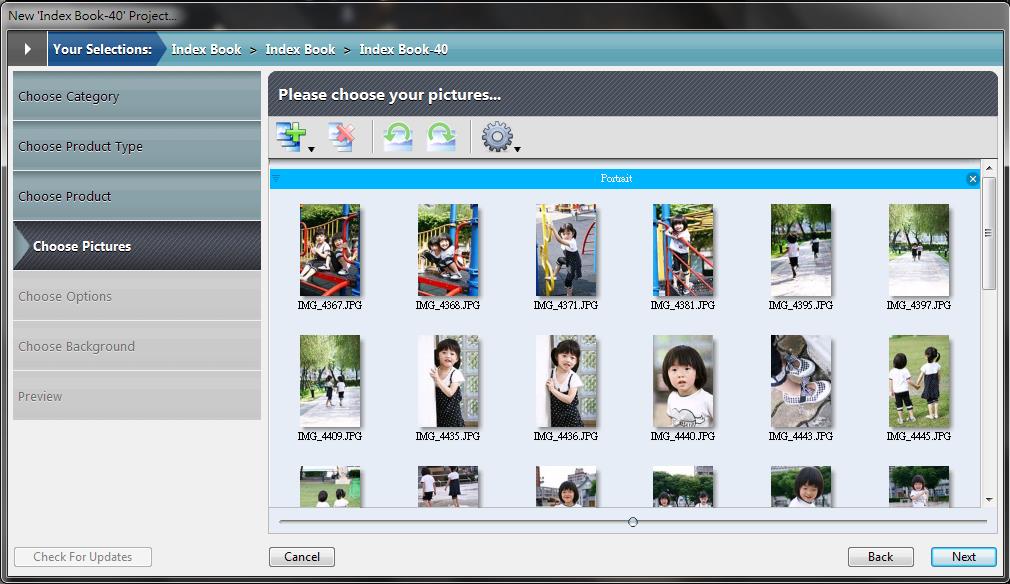
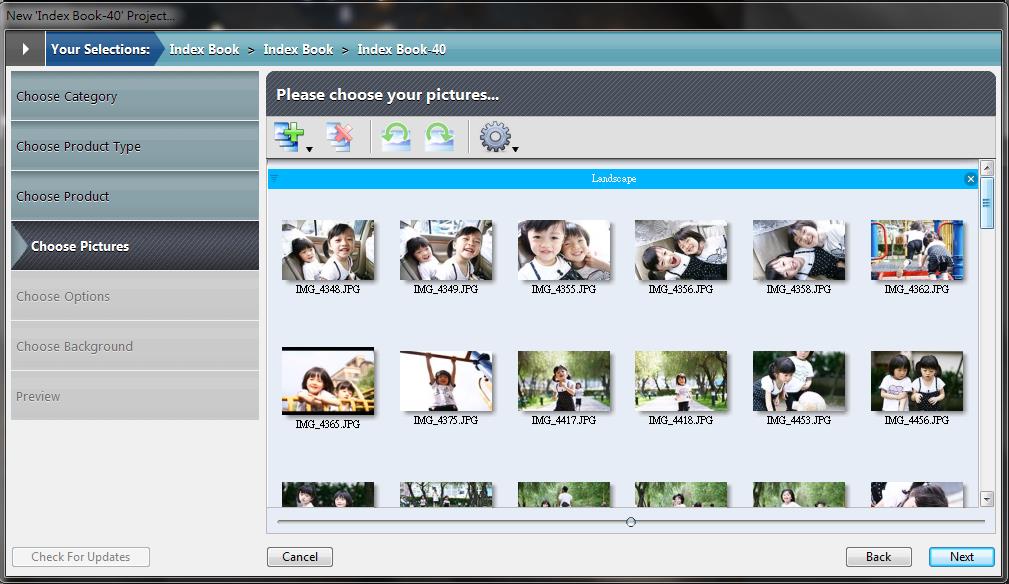
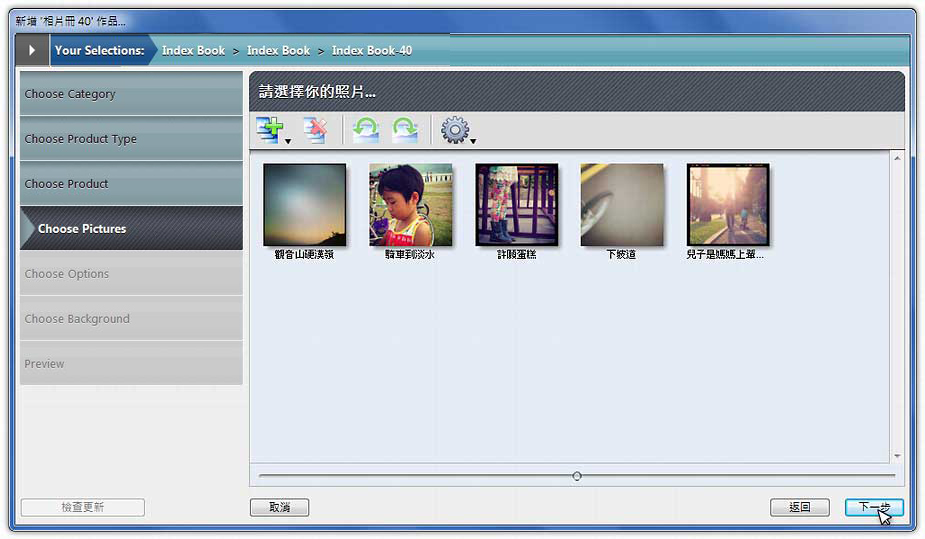
03 Select Photos
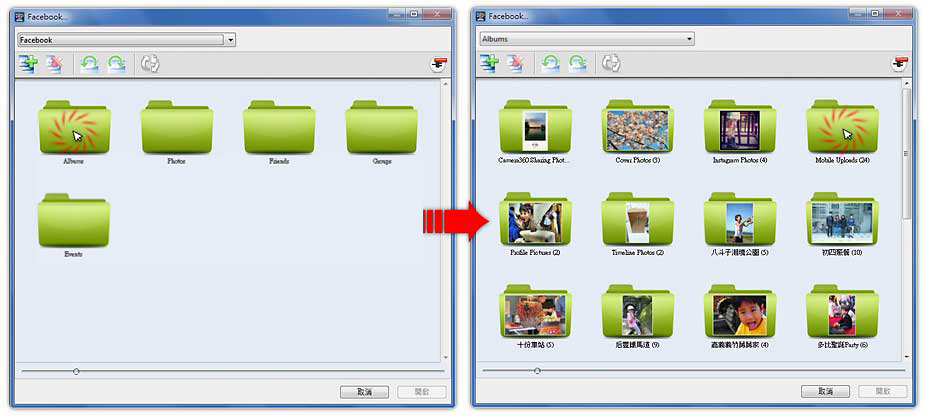
Choose Add pictures from Facebook.
04 Choose Font Family and Font Size
There is a text box under each picture and it is picture's file name by default. You also could edit each text box later.
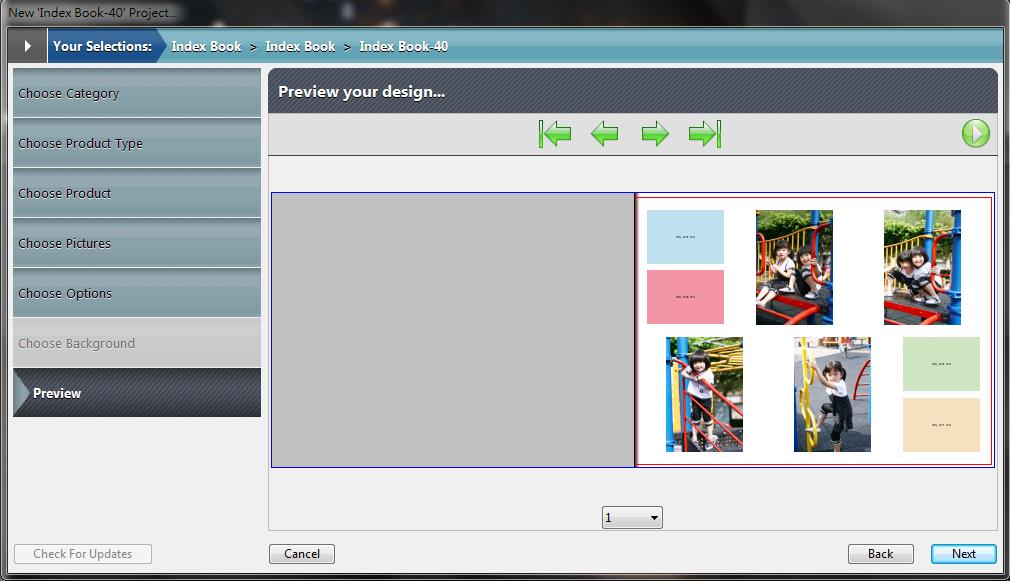
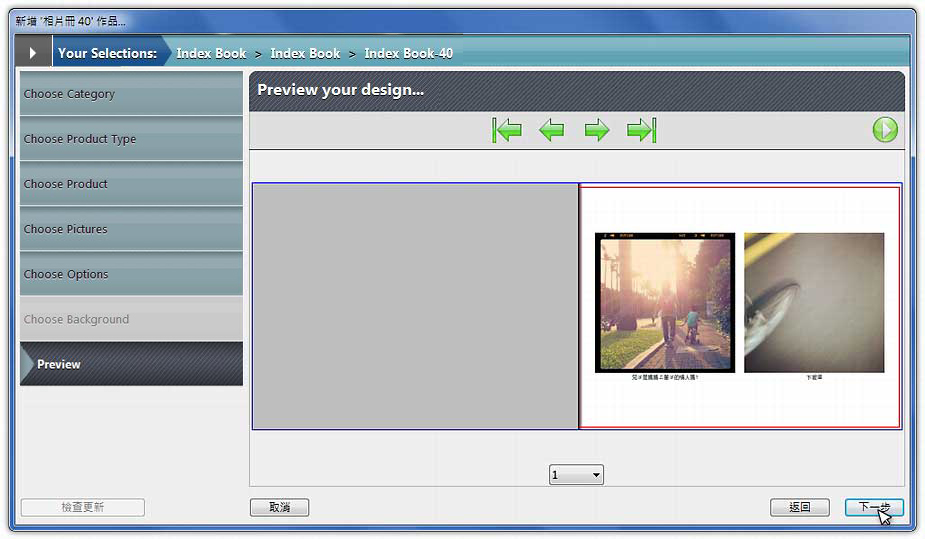
05 Preview Your Design
In preview window you could preview pages one-by-one. If there are blank picture boxs or pages, it means that quantity of pictures are not enough.
Then click Back to Import / Add more pictures.
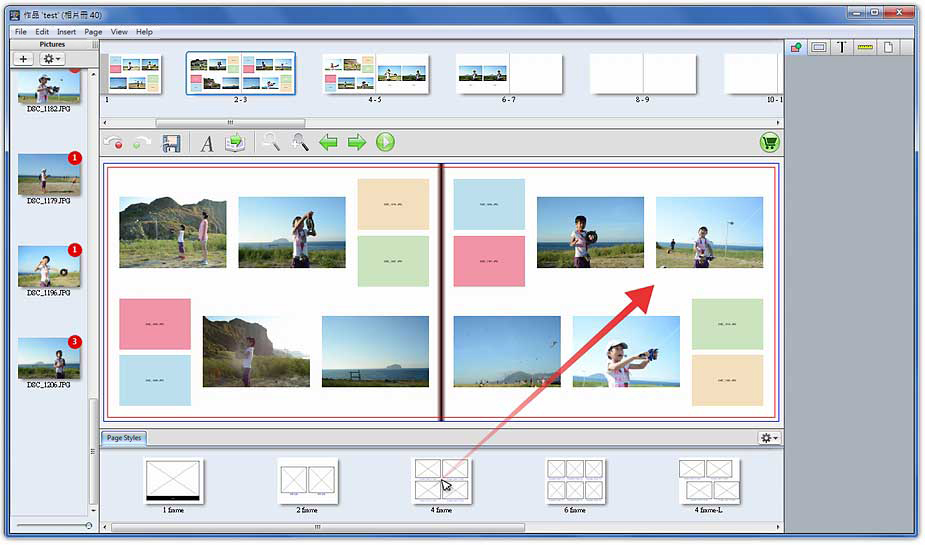
06 Work Window
Drag and drop another page style from bottom of software if you want to change it.
Double click on text box to edit text / font. (Suggest: click【View】→【Maximum Zoom】to zoom in work window)
07 Order and upload files
Complete design projects and click Order「![]() 」then finish whole procedure.
」then finish whole procedure.